It started with drawing a tree on butcher paper and hanging it on a wall several years ago. Every year during the month of November our kids have looked forward to putting what they are thankful for on the “thankful tree”. This year I knew we needed it bigger because we are hosting Thanksgiving in our home. So, I came up with the idea of a real thankful tree! Part of me knew I didn’t want to decorate for Christmas yet, and so really it was an excuse to be able to put twinkle lights in my home! But, I love the way it turned out!
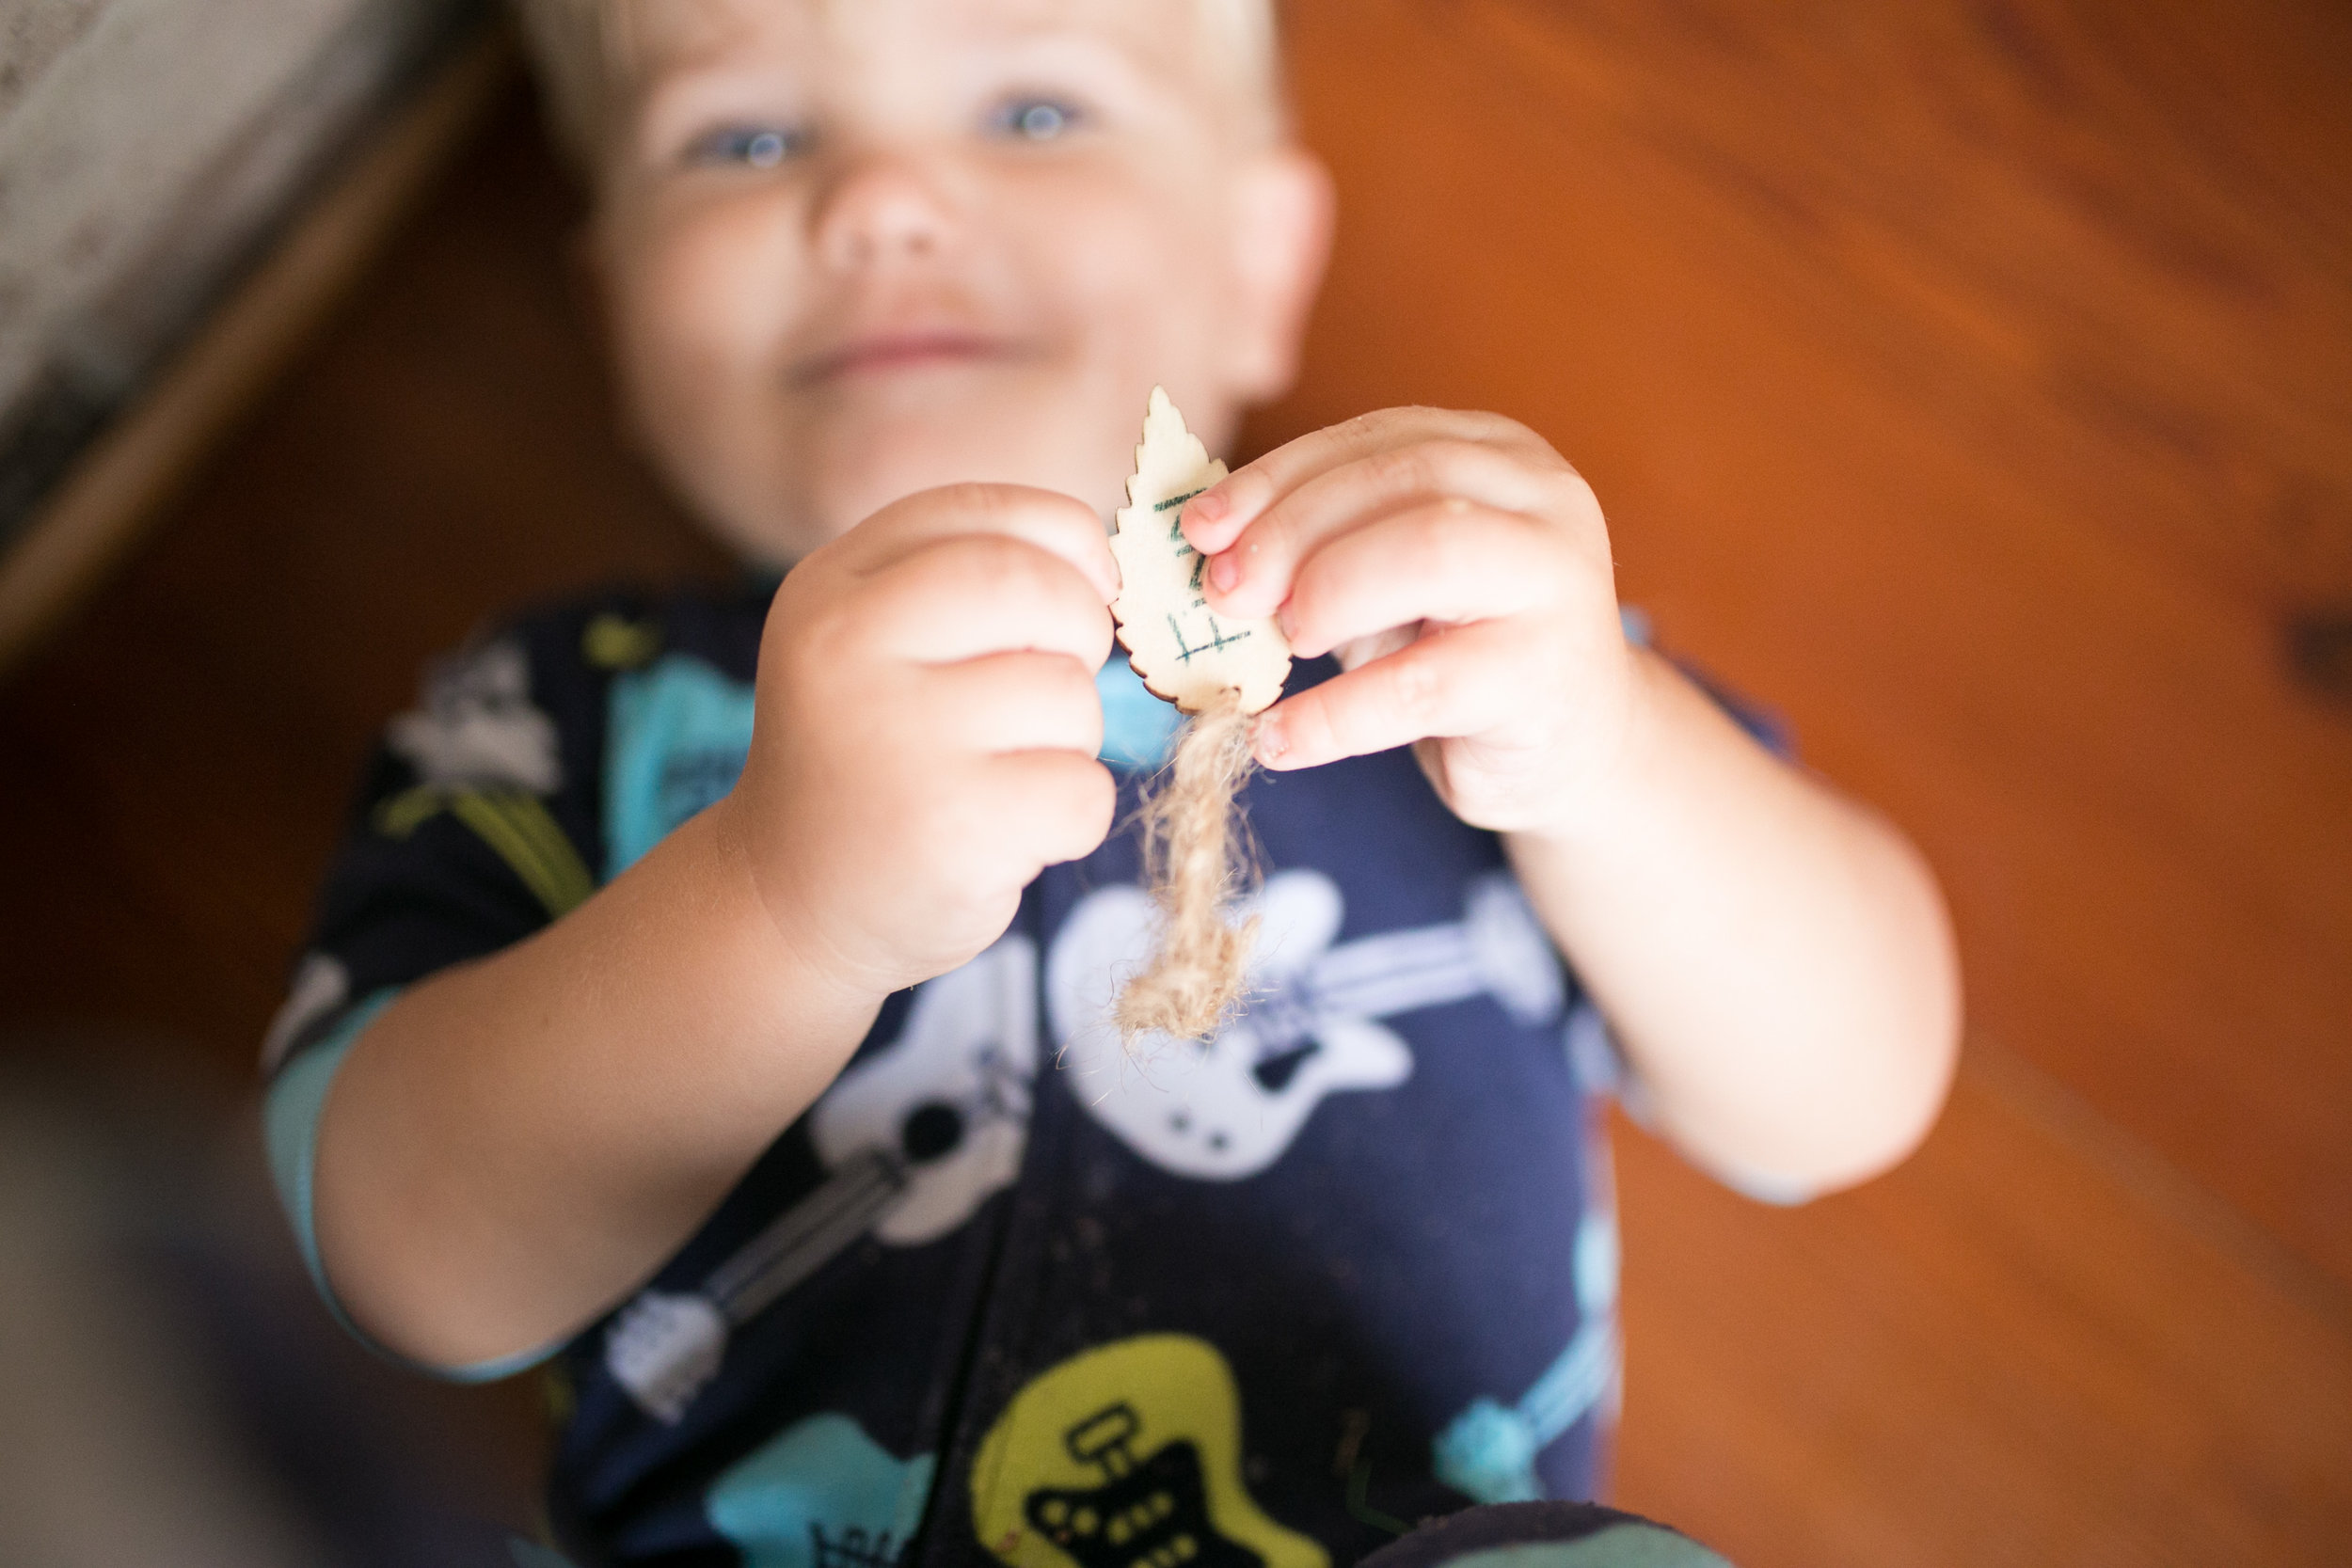
If you are wondering if this design is one year old proof…it’s survived so far! Thankfully most of the branches are taller than him! Here my one year old (Finn) is holding a leaf that his 4 year old brother made saying that he was thankful for him (written by me, of course).
Here is how I made it:
Thanks to the tropical storms we’ve had this fall, I had many branches to choose from in our yard. So I tried to choose a branch that was about 7 ft tall, and had many branches shooting out from it. Then I removed all the moss and leaves off of it.
I then placed my branch in a bucket and poured concrete into it. My branch was leaning up against a wall outside so I could stabilize it where I wanted it. Then, I added some water following the instructions on the concrete bag. I let it dry for 24 hours and then brought it inside.
I found some twinkle lights and wood leaf cutouts on Amazon! Fun story: These were supposed to be shipped together but then never showed up after 5 days! So Amazon issued me a refund, and guess what…they showed up 2 days later! Yippee!!
I made a Instastory of how I made this if you would like a visual! Check it out!
I love how this tree has become a focal point in our home…it is inspiring more thankfulness in all of us, and adding some twinkle to the holiday!


